The Process
Three easy steps to a van that's unmistakably yours
If you can send an email, you can do this. And if you get stuck at any point, ring us on 1300 326 188 and a real person on the Gold Coast will walk you through it.
Watch It First
Measure, purchase & install
See the practical side of getting your custom screen from measurement to installation before you dive into the three steps below.
Before You Order
How to measure up
We only need two things from you: the width between your awning arms, and the spline size that fits your awning tube.
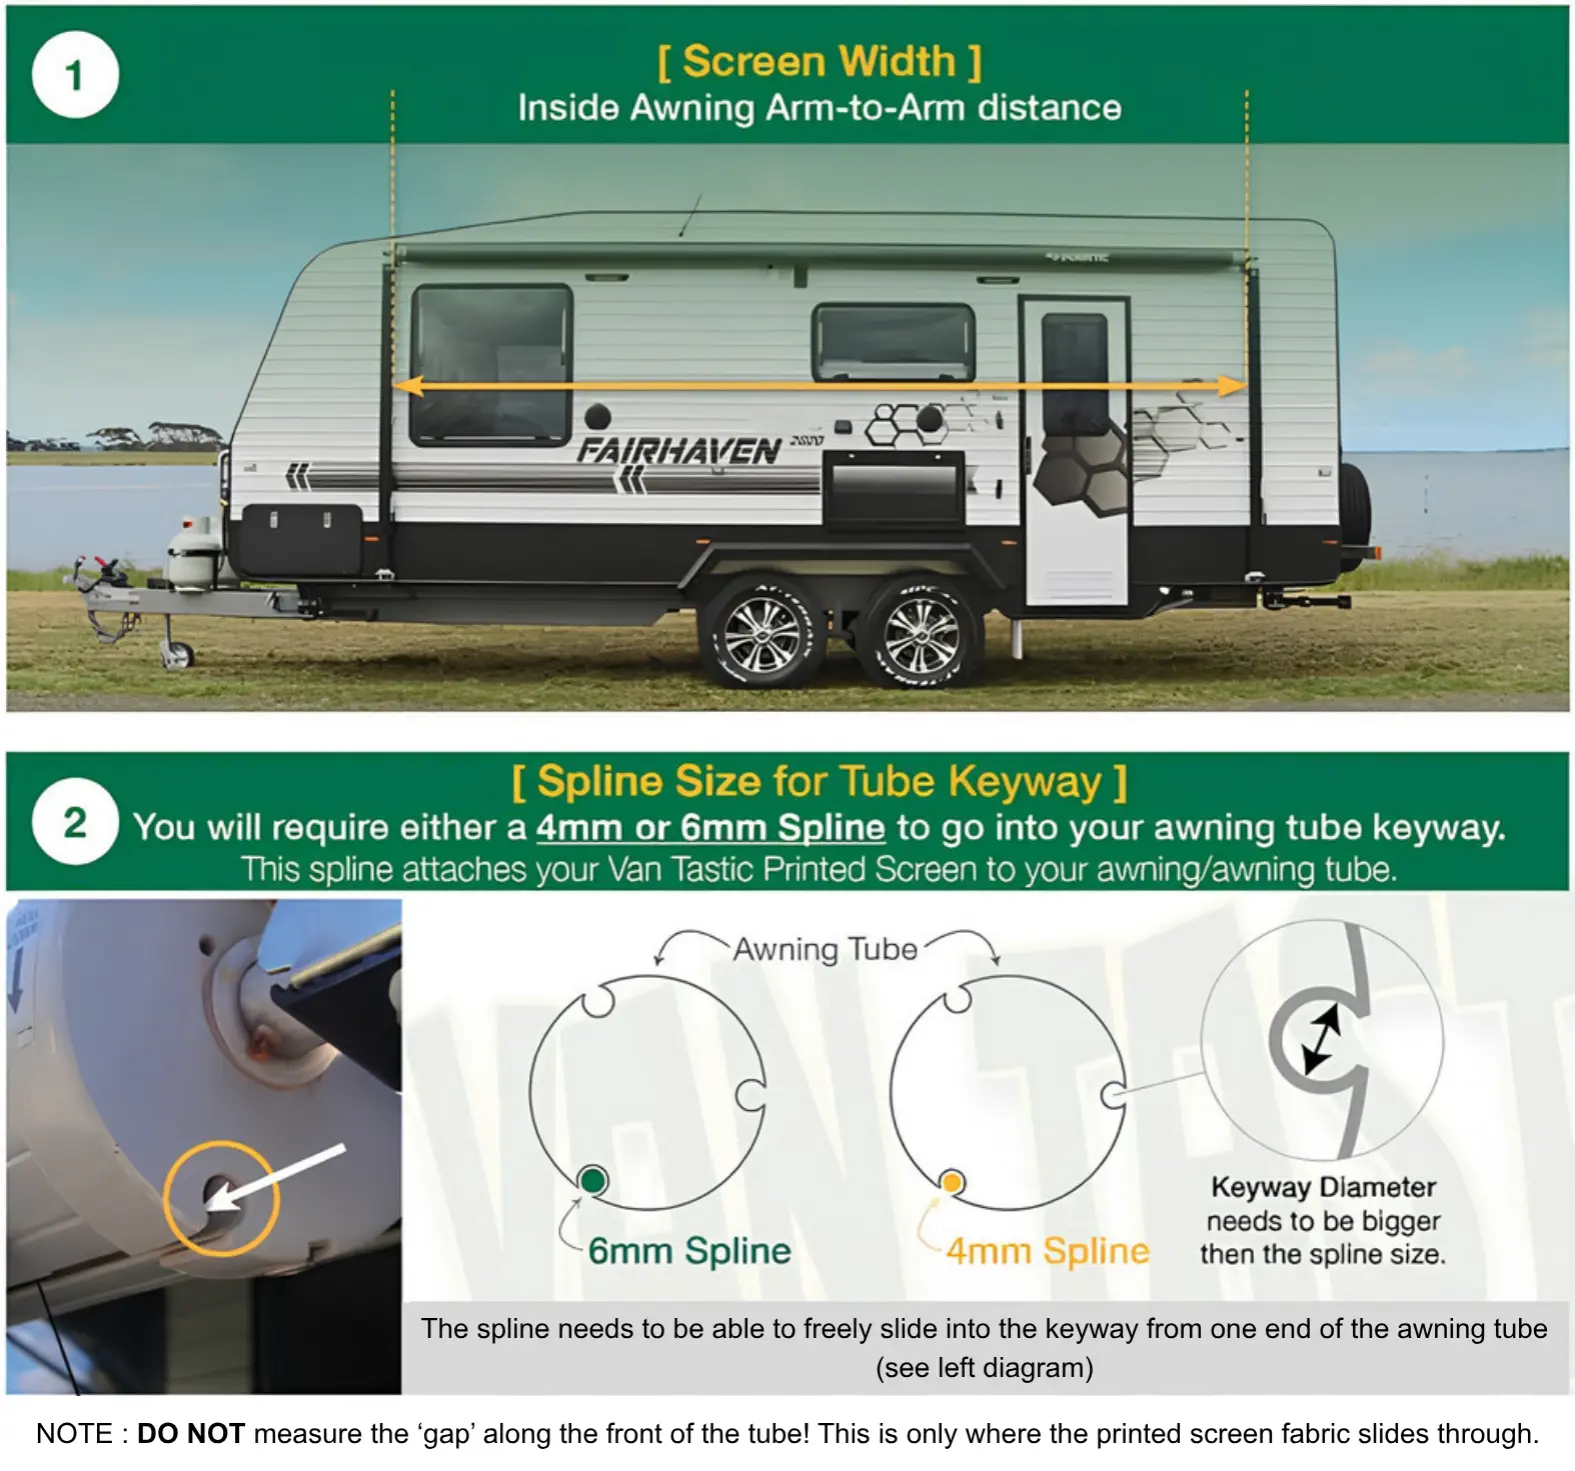
Not sure about a measurement? No worries — call us on 1300 326 188 or send us an enquiry and we'll help you work it out.
Step One
Send your image
This is the fun part. Your screen can carry any image that means something to you:
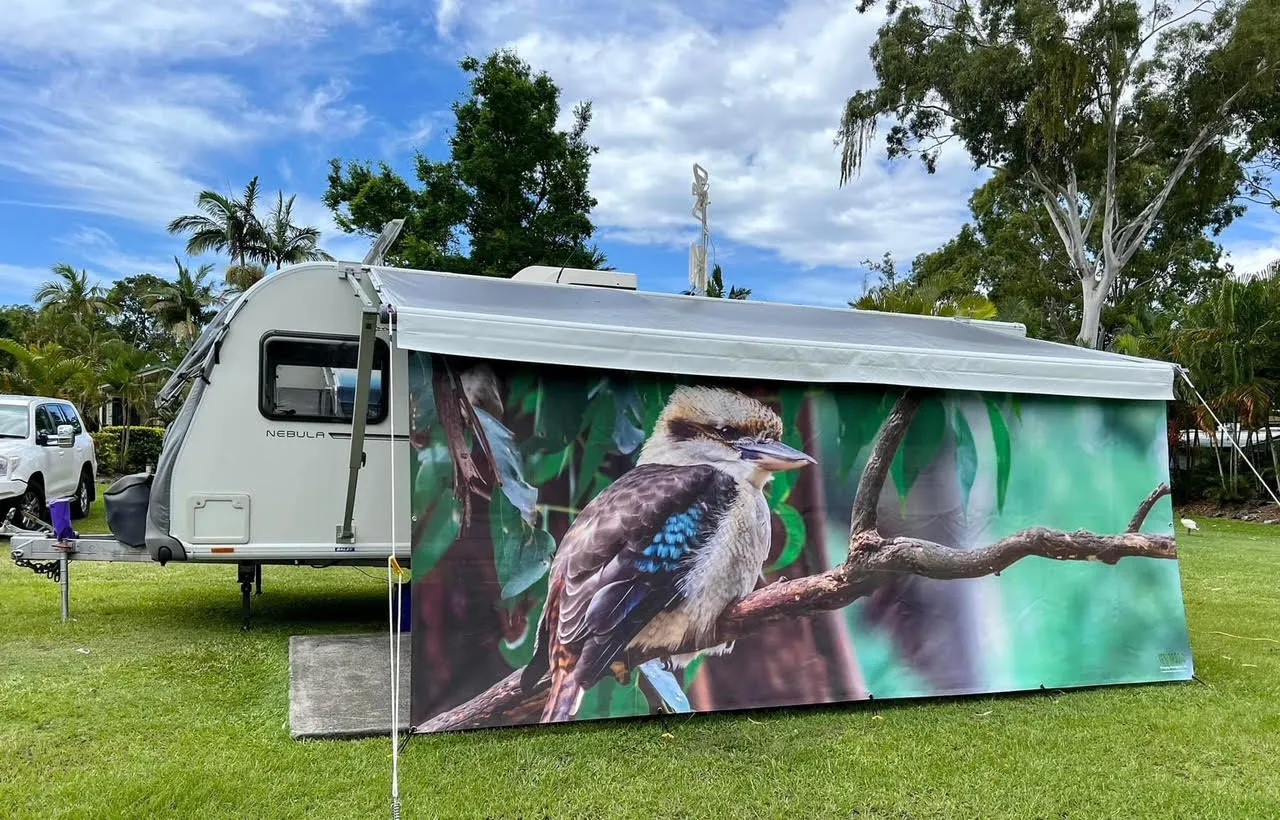
Your own photo. That sunrise you caught at Cape Hillsborough, the family boat, your dog with his head out the window. If it makes you smile, it belongs on your van.
A Shutterstock image. Browse millions of professional photos — beaches, mountains, wildlife, vintage posters — and tell us the image number. We handle the licensing.
A custom design. Got an idea but no picture? Our in-house artist can design your screen from scratch — team colours, name signs, illustrated scenes, the lot.
Email your image or idea to vantastic@aussieoutdoor.com.au, or attach it to the contact form.
Step Two
We check, prepare & proof it
Big prints are unforgiving, so before anything happens, our artist checks your image at full screen size. We look at resolution, sharpness and how the image will sit across your awning space — and we'll tell you honestly if it won't hold up, no charge.
Then we prepare the artwork: colour-tuning it for mesh fabric, allowing for hems and fittings, and positioning the key parts of the image so nothing important disappears at the edges.
You get a digital proof showing exactly what your finished screen will look like. Want the horizon a bit higher? Text moved left? Easy — nothing prints until you're delighted.
Step Three
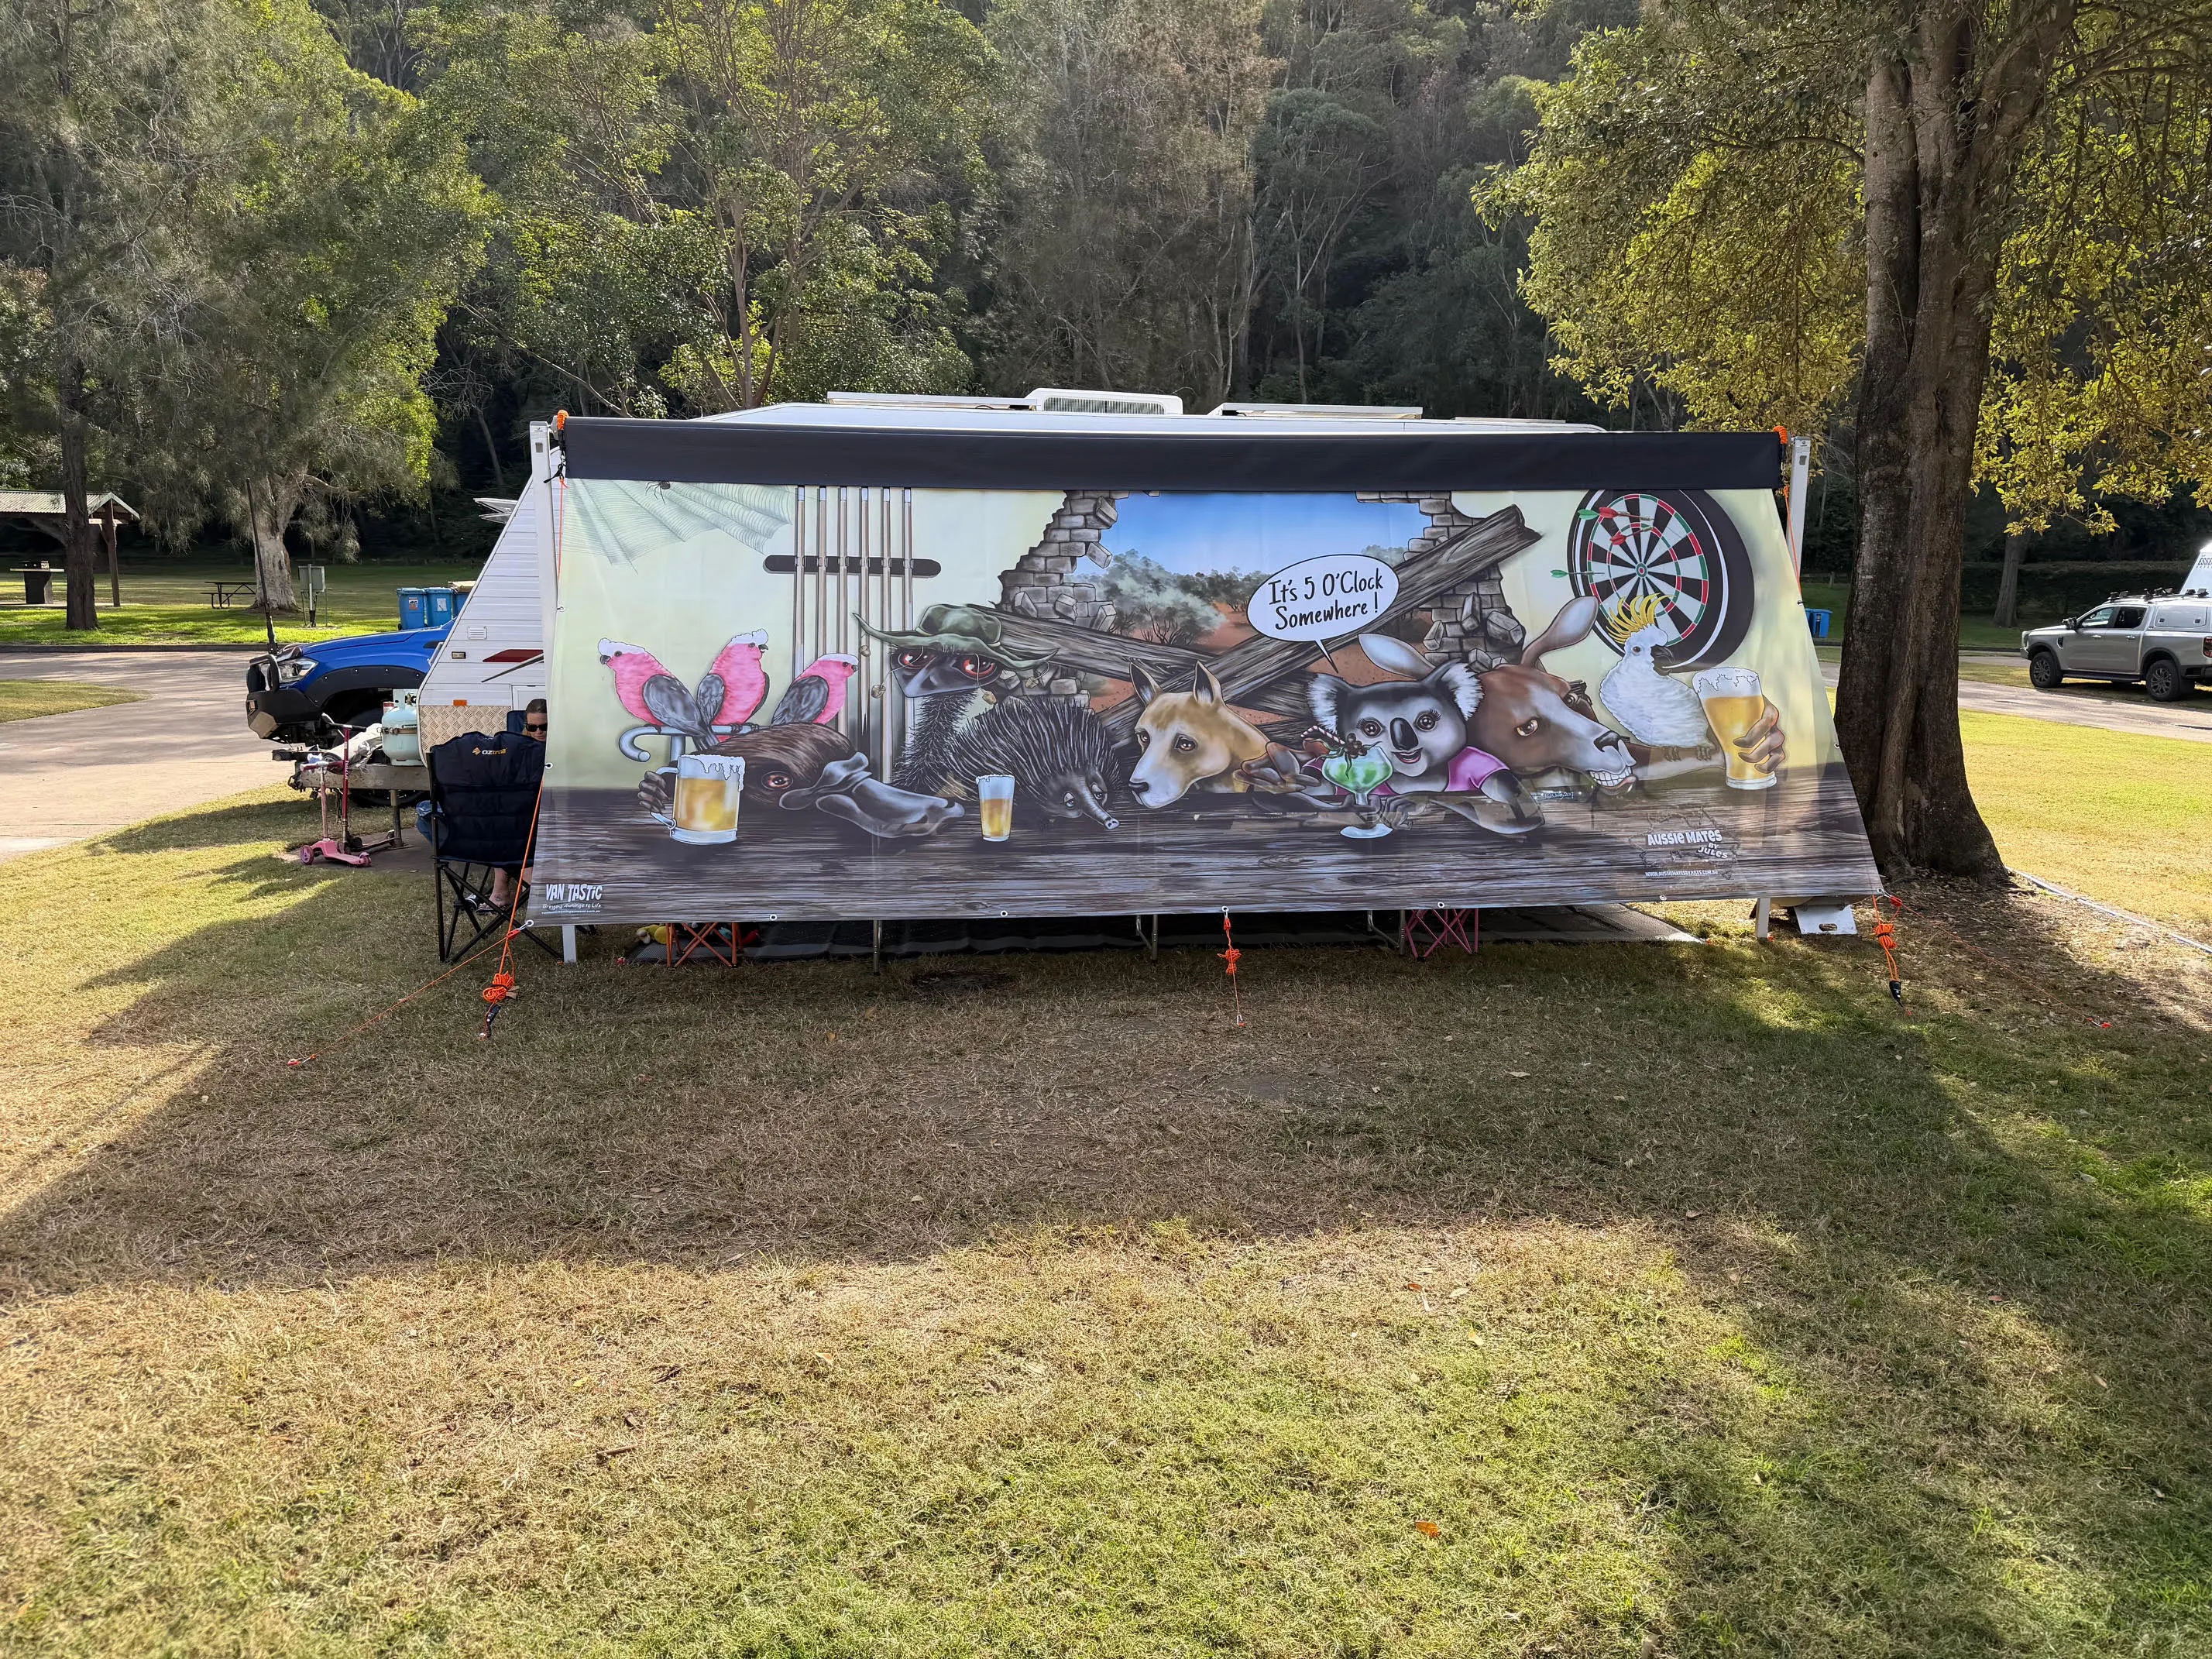
We make your screen to measure
Tell us your measurements — awning length, drop, and how you'd like it to attach. Not sure how to measure? We'll send you our simple measuring guide, or talk you through it over the phone in five minutes.
Your image is printed with UV-stabilised inks onto heavy-duty PVC mesh at our Carrara factory, then double-hemmed and finished with your choice of fittings. Every screen is laid out and inspected by our family team before it's rolled, wrapped and shipped anywhere in Australia.
Most screens are on their way approximately 3 weeks after proof approval. Then it's just you, your van, and a campsite full of admirers.
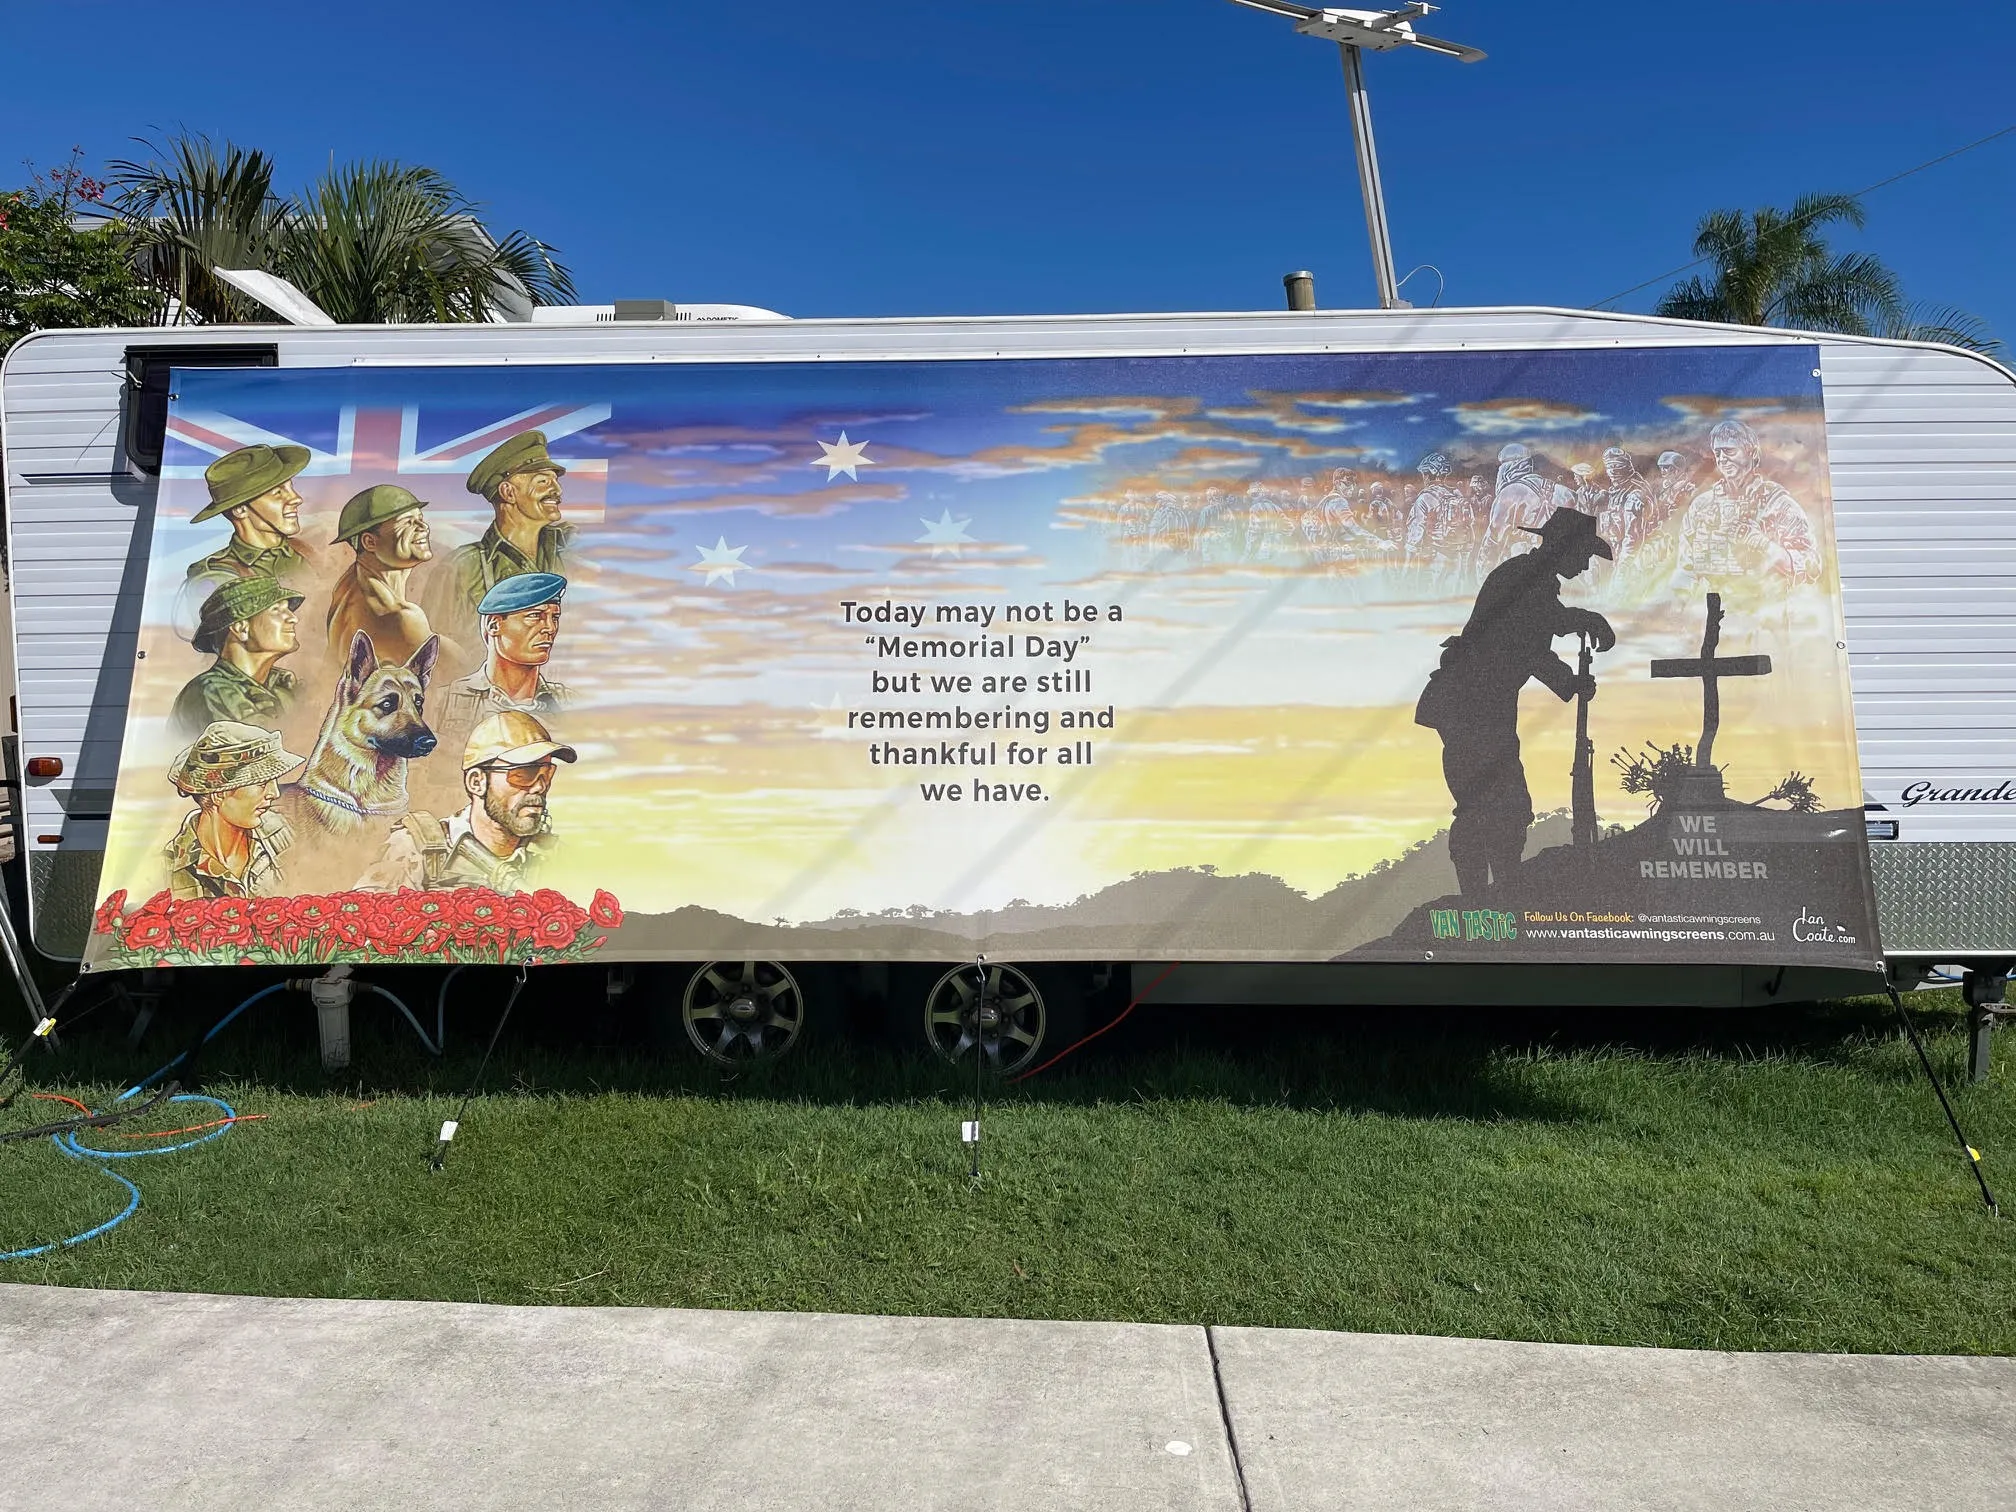
The Technical Bit
Image requirements, in plain English
Don't stress about the numbers — we check every image before you commit. But if you like to know, here's what prints best.
| File types | JPEG, PNG or TIFF. PDF is fine for designed artwork. |
|---|---|
| File size | Bigger is better — aim for the original, un-compressed photo (usually 3–20 MB). Avoid images saved from Facebook or WhatsApp; they're heavily compressed. |
| Resolution | Ideally 4000 px or more on the longest side for large screens. Modern phone photos taken at full quality usually qualify. |
| Orientation | Landscape (wide) images suit most awnings best. Portrait images can work — our artist will show you options in your proof. |
| Not sure? | Send it anyway. We check every image free of charge and tell you straight whether it'll print beautifully. |